


Medical device design transfer turns an approved design into a controlled manufacturing basis. Sending the factory a CAD file is only one step. Materials, dimensions, tooling, assembly, acceptance methods and the route for questions must agree so that routine production reproduces the intended configuration rather than a supplier’s interpretation of it.
Treat transfer as a series of readiness decisions, not a date when documents are emailed. The following checkpoints focus on physical components and assemblies. They support a device owner’s quality system but are not a complete regulatory transfer procedure or a claim that every component supplier owns device-level development.
Checkpoint 1: One Configuration Across All Records
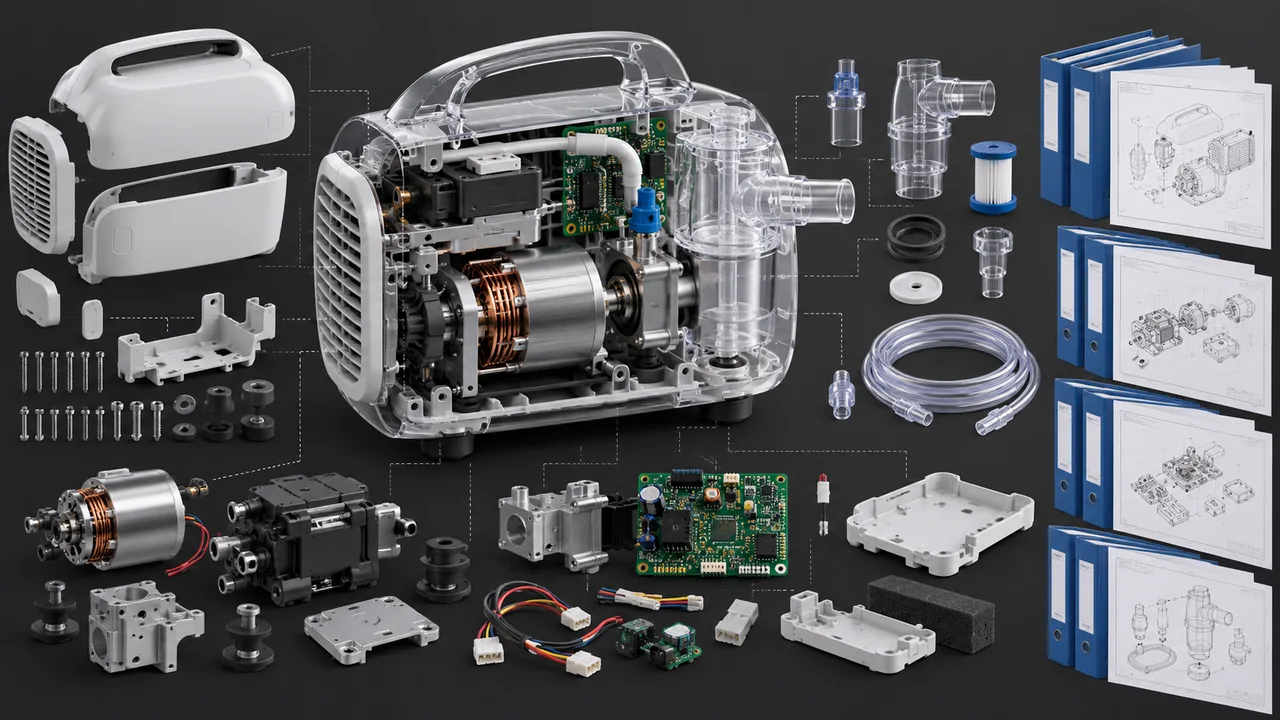
Compare CAD, drawings, the bill of materials and assembly information. Confirm that revision identifiers align and that the approved configuration is clear. A model can show one hole pattern while the inspection drawing or purchased insert reflects an earlier version.
Identify which dimensions, interfaces and surfaces protect function. Specify the inspection state: before finishing, after finishing or in assembly. Explain permissible witness marks and edge conditions where they matter, rather than relying on general notes that contradict a local requirement.
Le medical device design guidelines parent page supports the upstream design decisions. Transfer checks whether those decisions have become a usable manufacturing package and whether unresolved items still block release.
Checkpoint 2: Materials Can Be Purchased Without Guessing
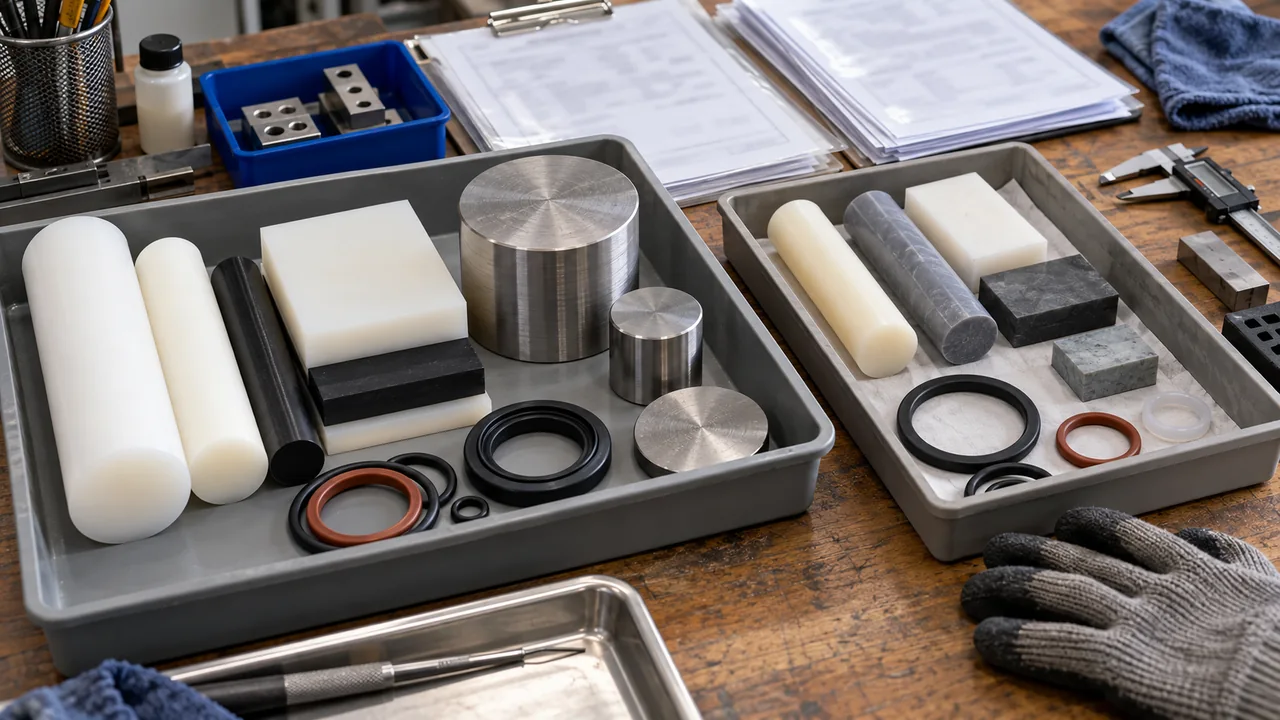
Use exact grade identifiers where necessary and define permitted substitutions. A generic description such as medical plastic can hide differences in formulation, processing and supporting data. Procurement should know what evidence is required and which changes need approval.
Include bought-in seals, fasteners, adhesives and treated components. Their interfaces can determine the finished assembly’s performance even when the custom housing is made correctly. Confirm availability, identification and the relationship to the approved bill of materials.
If a material or supplier remains provisional, make that status visible. Do not let an early development substitute enter production because it happened to be available during the pilot build.
Checkpoint 3: Tooling and Workholding Support the Critical Features
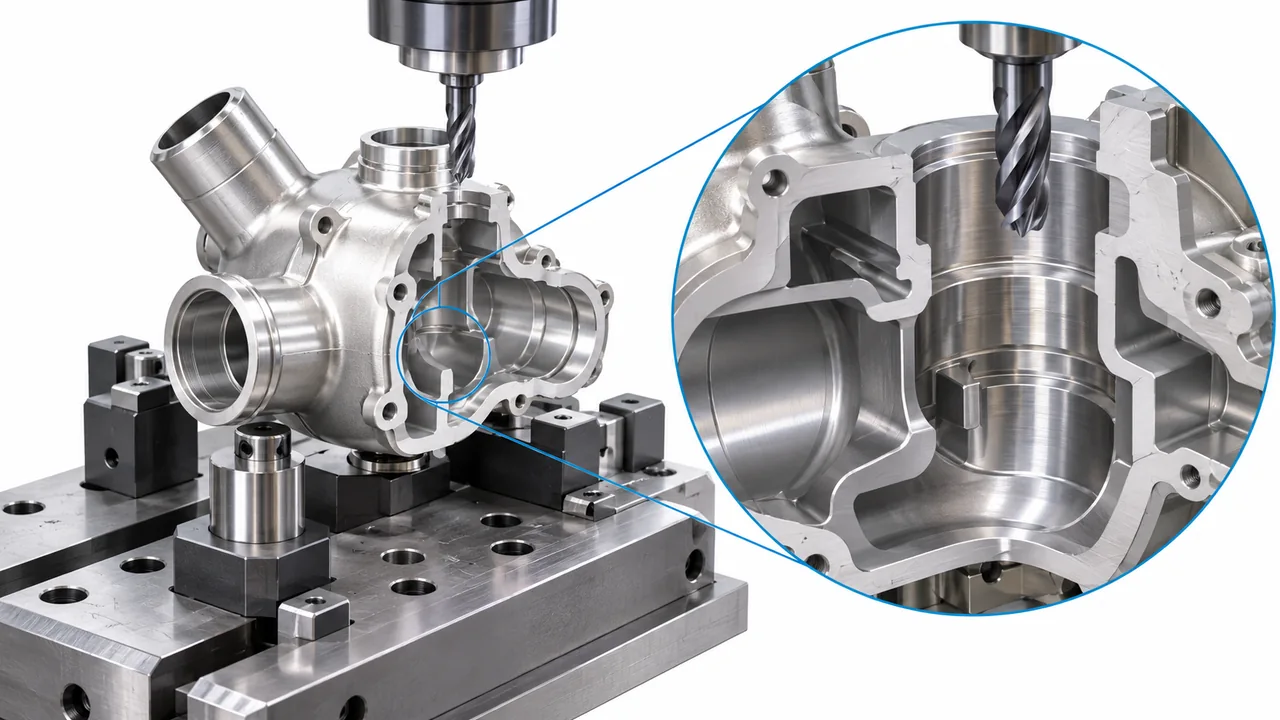
Review the proposed manufacturing route against the drawing. Tool access, parting lines, gates, ejection and clamping can influence the final part. A manufacturable external shape does not automatically establish that a hidden functional surface can be controlled.
Pour l'outillage rapide, identify what the development tool represents and how it differs from the production tool. Establish which completed trials can support the production decision and which differences still require evaluation.
Workholding deserves the same scrutiny as the cutting or molding process. Clamping a thin wall can distort the dimension later inspected in a free state. Locating an assembly on a cosmetic surface can damage it or produce inconsistent positioning.
Checkpoint 4: Inspection Can Actually Apply the Requirements
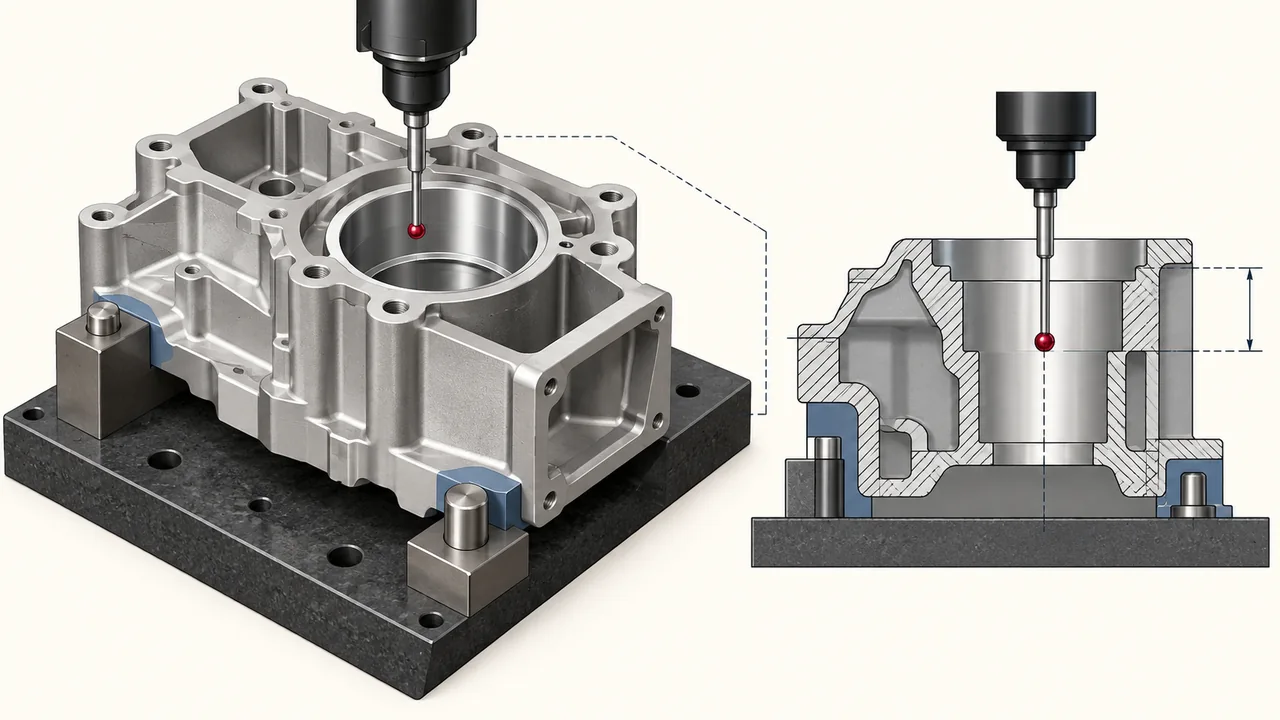
Assign a suitable method to each critical characteristic. Review access, resolution, fixturing and the part state. A dimension that appears in a drawing may be inaccessible after assembly, so its inspection point must be planned within the route.
Agree reporting expectations before the pilot build. Identify characteristic numbers, units and how results link to part and lot identity. Avoid a report that lists many measurements but cannot connect them to the controlled drawing.
Use the existing medical device quality control article for wider quality planning. Transfer requires the concrete handoff: available methods, understood criteria and evidence that the receiving team can use them consistently.
Checkpoint 5: Assembly Instructions Describe the Real Work
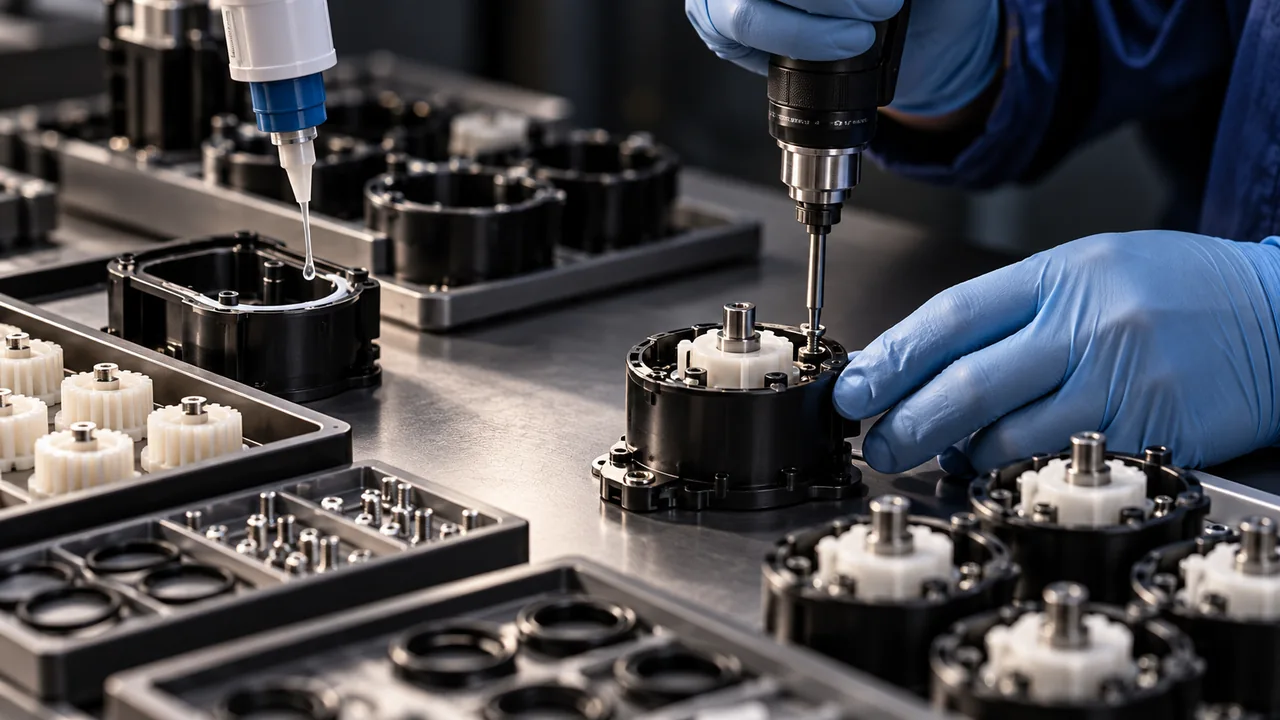
A successful build by the designer does not prove that a production operator has enough information. Document order, orientation, locating features and relevant controlled conditions. Where adhesive or seals are involved, include their material and processing requirements.
Identify operations that can conceal a defect. A cover may hide an unseated seal, and a final bond may make an earlier measurement impossible. Place checks at the point where the relevant condition can still be evaluated.
Evaluate handling between operations. Parts can be damaged or contaminated after acceptance. Define identification, protective arrangements and separation of accepted product from work awaiting processing, using controls appropriate to the component and project.
Checkpoint 6: A Pilot Build Exposes the Gaps
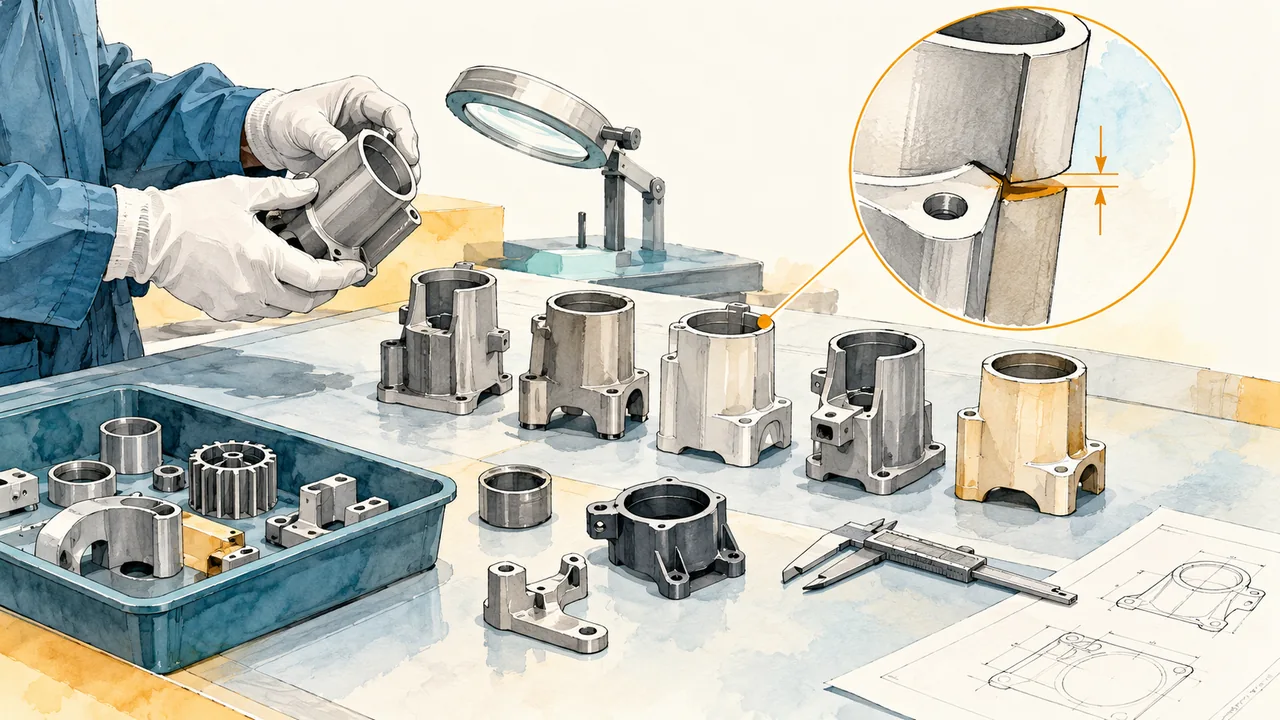
Build representative hardware through the intended route and record problems without silently repairing the instructions. The pilot’s value is to reveal questions about dimensions, material, assembly and inspection while the team can still resolve them before routine manufacture.
| Pilot observation | Question to resolve | Evidence needed before closure |
|---|---|---|
| Operator asks which face is the datum | Is the drawing or instruction ambiguous? | Corrected controlled reference and trial application |
| Seal shifts during assembly | Is the method or geometry insufficient? | Representative assembly and functional check |
| Reported dimensions vary with clamping | Does the measurement method distort the part? | Suitable fixture and repeatability investigation |
| Purchased insert differs from development samples | Is the bill of materials adequately controlled? | Approved identity and interface assessment |
| Finished surface is damaged in handling | Does the route preserve the accepted condition? | Revised handling and verification |
The table is an illustrative readiness review, not a record of actual Jucheng defects. Each project should identify its own observations and evidence rather than checking generic boxes without examining the hardware.
Do Not Confuse a Pilot Lot With a Production Guarantee
A favorable pilot is valuable evidence under its recorded conditions. Determine whether it covers the proposed equipment, tooling, materials and operating range. Additional manufacturing-process work may remain necessary, particularly where results cannot be fully verified by subsequent inspection.
Checkpoint 7: Deviations and Changes Have an Owner
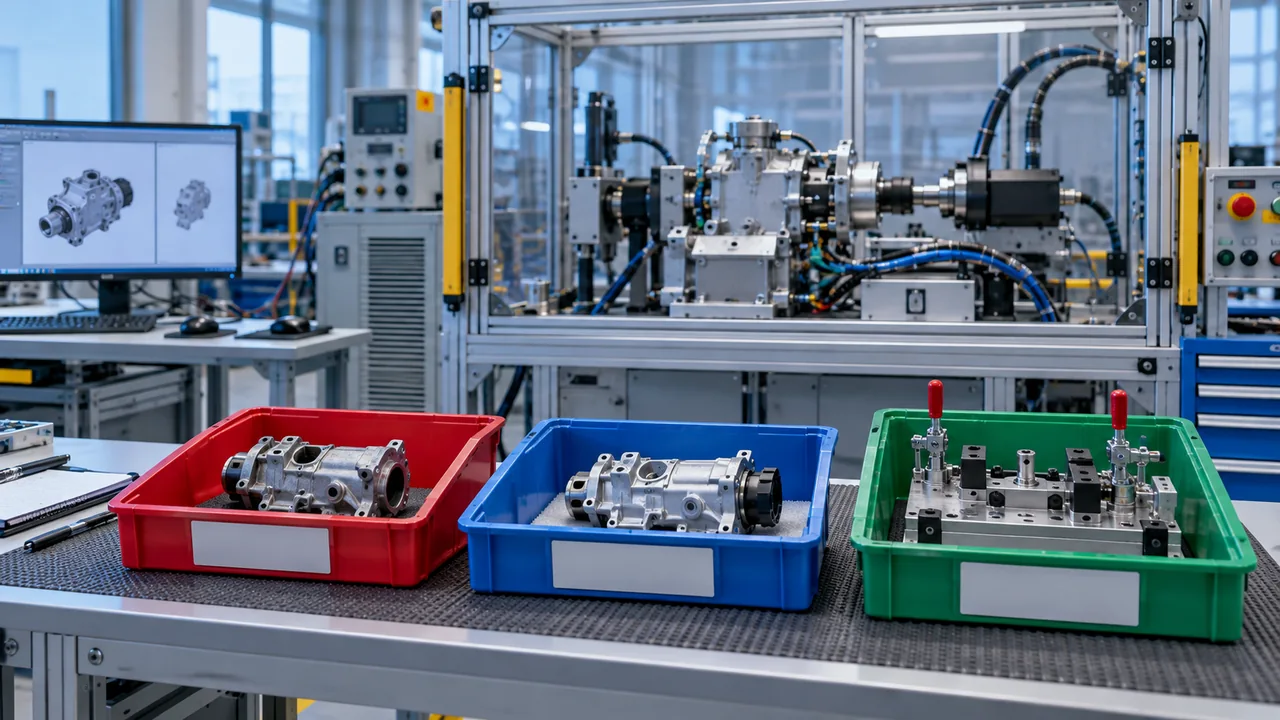
Define who answers questions, approves deviations and assesses changes. A supplier may propose a sensible radius or different setup, but an approved design cannot be altered informally merely because the change appears small.
Record open items with their impact and closure conditions. Some can remain under an approved limited development plan; others block release. The team should not disguise a critical unresolved issue as a minor note because the schedule is tight.
Control revised documents at the receiving site. When a drawing changes, ensure that the affected program, fixture, inspection and assembly instruction are reviewed. Replacing one file does not automatically update the entire manufacturing route.
Checkpoint 8: Production Release Has a Clear Boundary
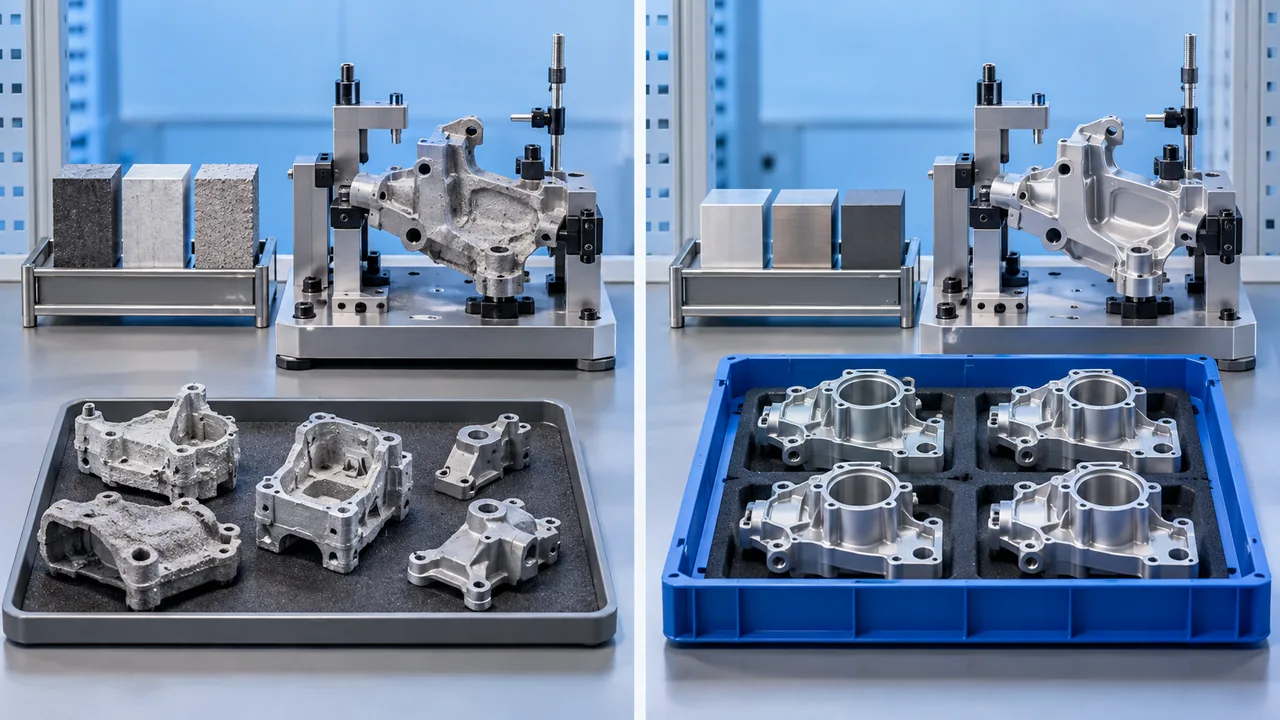
Release a defined configuration with the agreed scope, quantity assumptions and acceptance basis. Identify which evidence supports readiness and any remaining conditions. A reviewer should be able to reconstruct why production was authorized without relying on an informal conversation.
Pour CNC-machined components, that package includes the relevant geometry, material and finishing state. For molded assemblies, it also needs the pertinent tooling and assembly interfaces. The contents should fit the chosen route rather than copy an unrelated device’s record set.
Jucheng’s manufacturing contribution should be agreed at quotation and transfer: components, tooling, inspection and records within the confirmed project scope. Device-level design ownership, specialist validation and regulatory responsibilities should remain explicit. A good transfer makes collaboration easier precisely because the responsibilities and evidence are clear.

